Learn how to build and embed native feedback forms directly in Sigma to capture real-time customer insights alongside your embedded analytics in your MyReportPortal portal without third-party ETL pipeline overhead. By leveraging Sigma Input Tables, you can write feedback directly to your cloud data warehouse, automate alerts, and seamlessly integrate user input into your product roadmap.
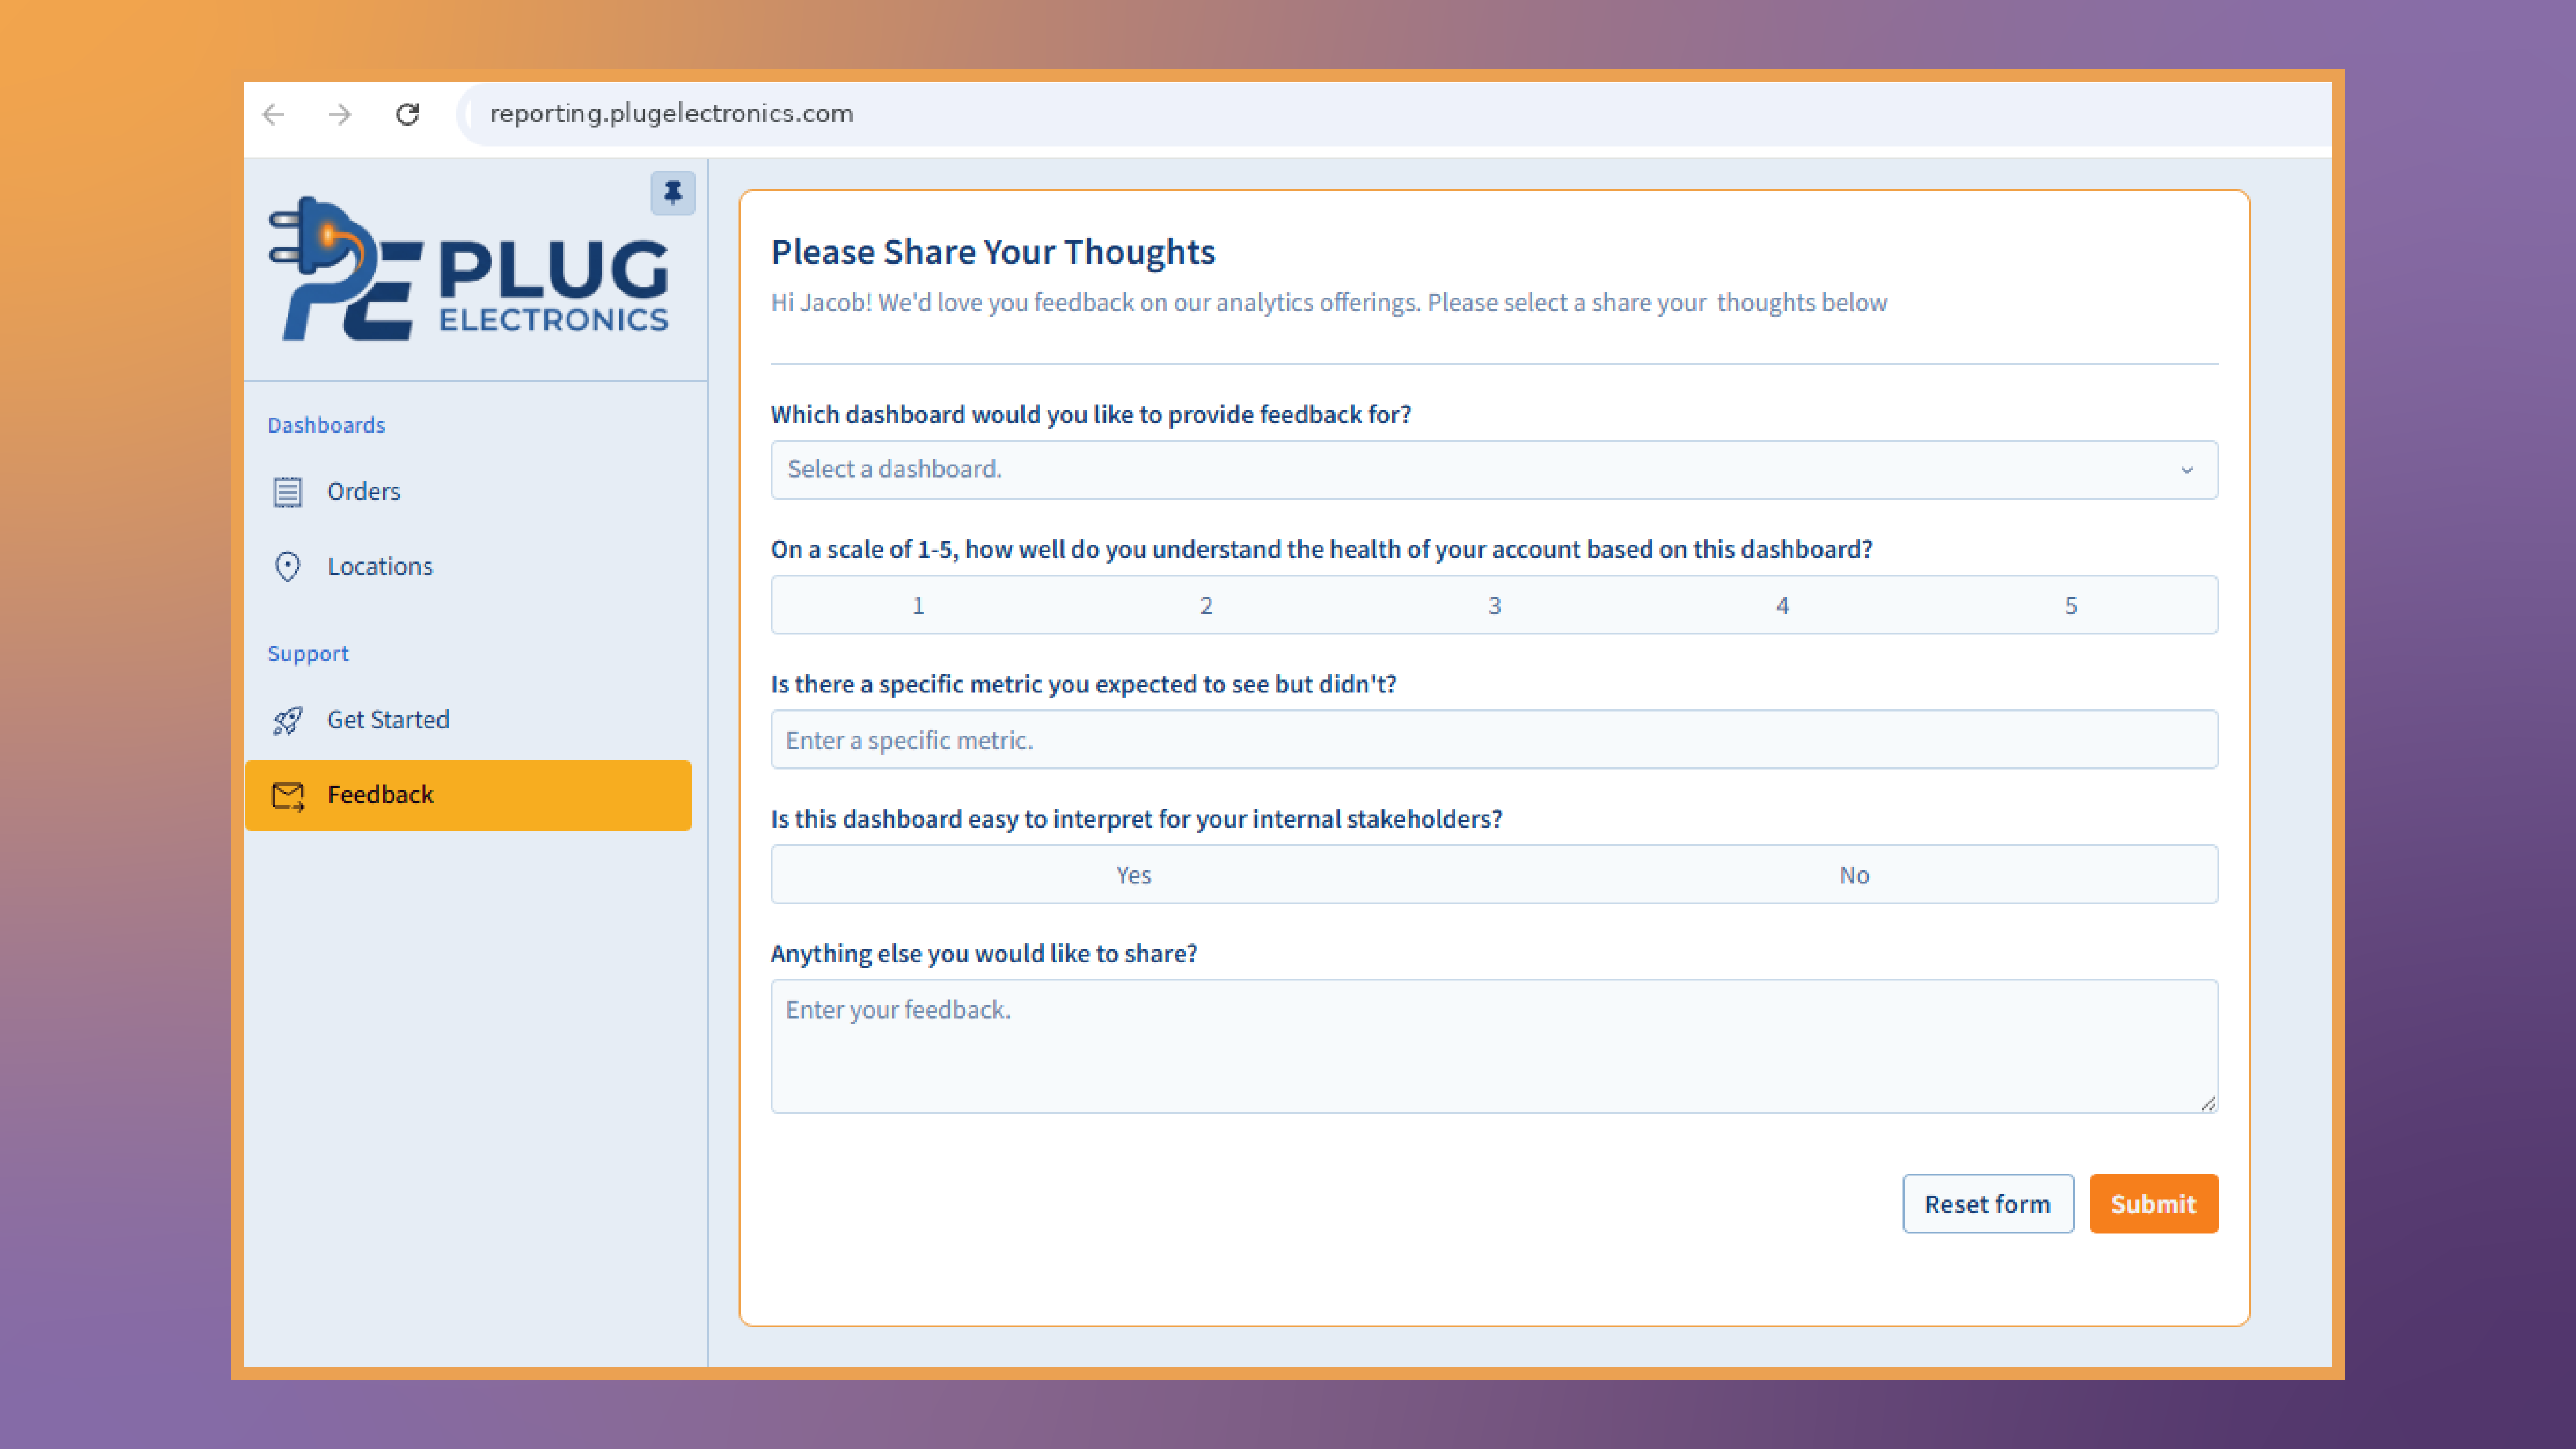
Building a feedback form directly inside Sigma and embedding it within a customer-facing environment like MyReportPortal bridges the gap between customer input and modern data engineering.
Capturing feedback natively in your analytics stack solves key challenges for two major stakeholders:
Capturing input from external users of client-facing analytics is essential to driving continuous product value. Traditionally, customer feedback flows informally to line-of-business (LOB) stakeholders—such as account managers and sales teams. By the time this feedback reaches the data team, it is often inconsistently formatted, stripped of context, or lost entirely. This heavily biases product roadmaps toward "the squeaky wheels"—the few customers who complain loudest—rather than representing your full user base.
By embedding a structured feedback form directly alongside your dashboards, you give users a seamless, low-friction channel to share insights while they are actively interacting with your analytics. This captures a broader range of customer sentiments in a standardized format ready for immediate analysis.
Legacy form applications (such as Google Forms or Qualtrics) introduce significant data engineering overhead. Extracting data out of third-party form tools and landing it into a governed cloud data warehouse (CDW)—like Snowflake or Databricks—requires building, monitoring, and maintaining custom ETL/ELT pipelines.
Furthermore, export formats from traditional form software are notoriously poorly structured and difficult to model cleanly in SQL.
Using Sigma Input Tables as a native form layer completely transforms this architecture:

Feedback forms are a concept that stakeholders across your organization—such as customer success, product management, and sales—already understand deeply. Unlike complex SQL queries or data warehouse modeling, designing a form is a highly accessible collaborative project.
Before opening Sigma, lean on these internal domain experts to map out:
Draft, iterate, and finalize your form copy in a collaborative tool like Google Docs or Notion first. Establishing consensus on the questions before touching the canvas saves development time and ensures your form aligns with broader business goals.
Below is the structure of the form we’ll be building together in this guide for the classic Sigma fictious company, Plug Electronics.
Note that in this guide, I won’t be walking through adding a file upload feature to your feedback form as configuring the file upload functionality is not currently possible in Sigma Public. I strongly recommend including this functionality in your feedback form for a complete user experience. Please review this Sigma documentation to get started.
Once your questions are finalized in your planning document, map each field to its corresponding control type and underlying data structure in Sigma.
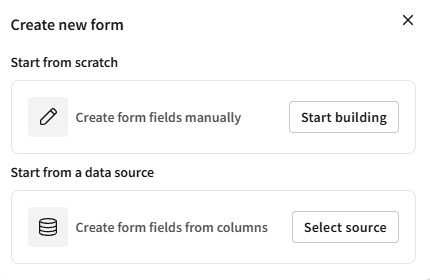
When creating a new form in Sigma, you can choose between two primary creation workflows:
Select source): Pre-defines your schema in an existing Input Table first, generating form controls based on table columns.Start building - Recommended): Allows you to visually lay out and refine your form controls on the form canvas first, then generate a linked destination Input Table in a single click once you are satisfied with the design.
Please Share Your ThoughtsSingle-select Dropdown labeled Which dashboard would you like to provide feedback for? with values Executive Summary, Key Metrics, and Sales.Segmented Control labeled On a scale of 1-5, how well do you understand the health of your account based on this dashboard? with values 1 through 5.Short Text field labeled Is there a specific metric you expected to see but didn't? with placeholder Enter a specific metric....Segmented Control labeled Is this dashboard easy to interpret for your internal stakeholders? with values Yes and No.Long Text Area labeled Anything else you would like to share? with placeholder Enter your feedback..Plug Electronics Feedback Submissions.Created byand Created at columns to the input table to attribute each form submission.Thank You Modal.Primary):Plug Electronics Feedback Submissions.Thank You Modal.Secondary):Plug Electronics Feedback Submissions Input Table properties and enable Allow entry in published view.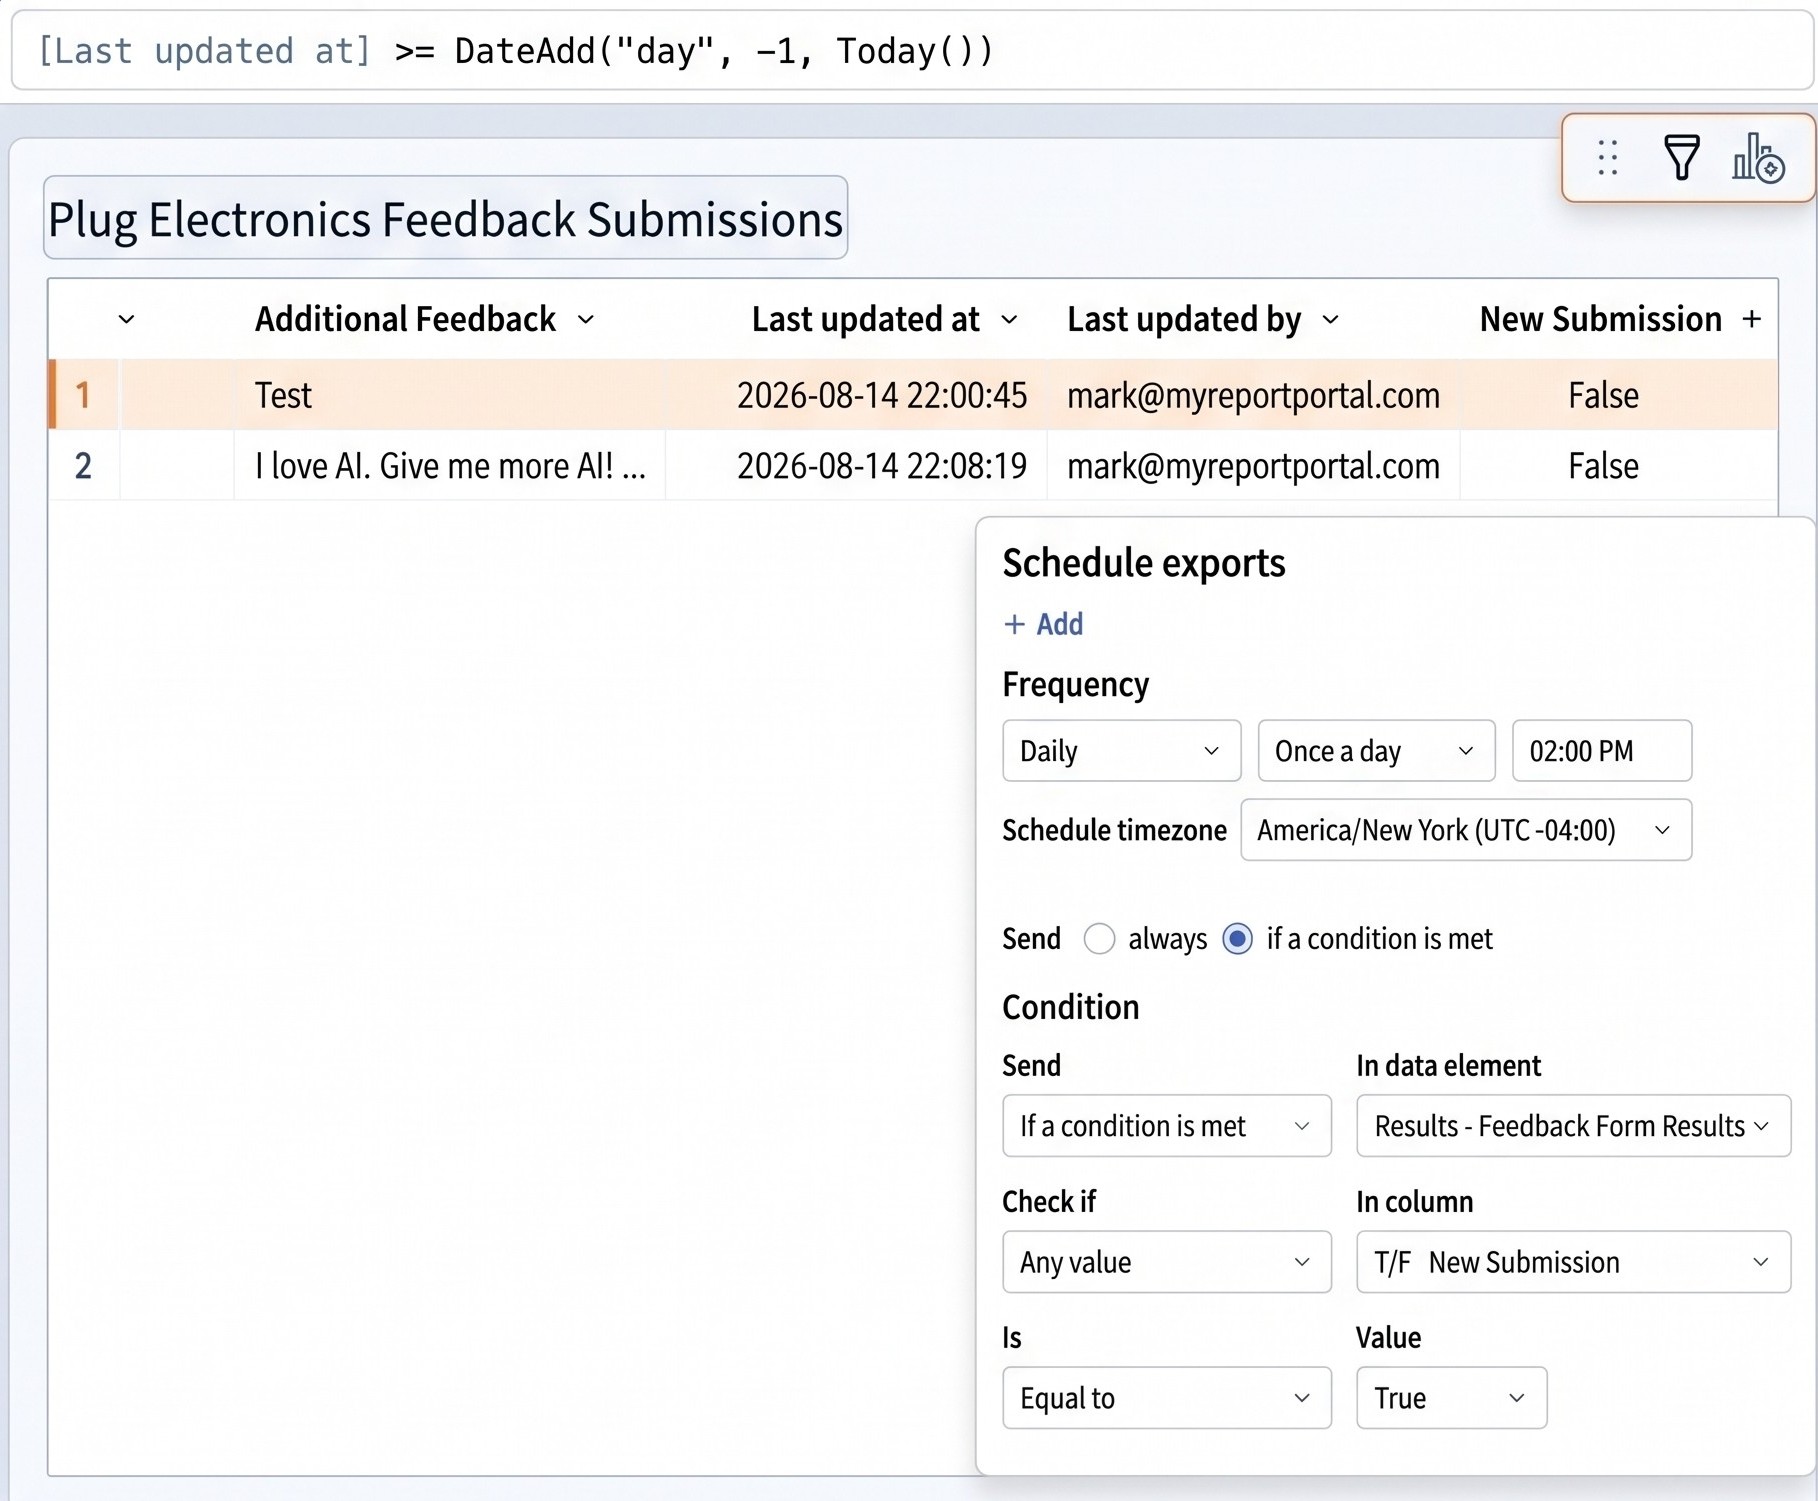
Real-time awareness ensures feedback doesn't sit idle in a database. Configure automated alerts in Sigma so your product and data teams are notified instantly when a customer submits input.
Plug Electronics Feedback Submissions input table called New Submissionswhere [Created At] >= DateAdd("day", -1, Today()).New Submissions is True) .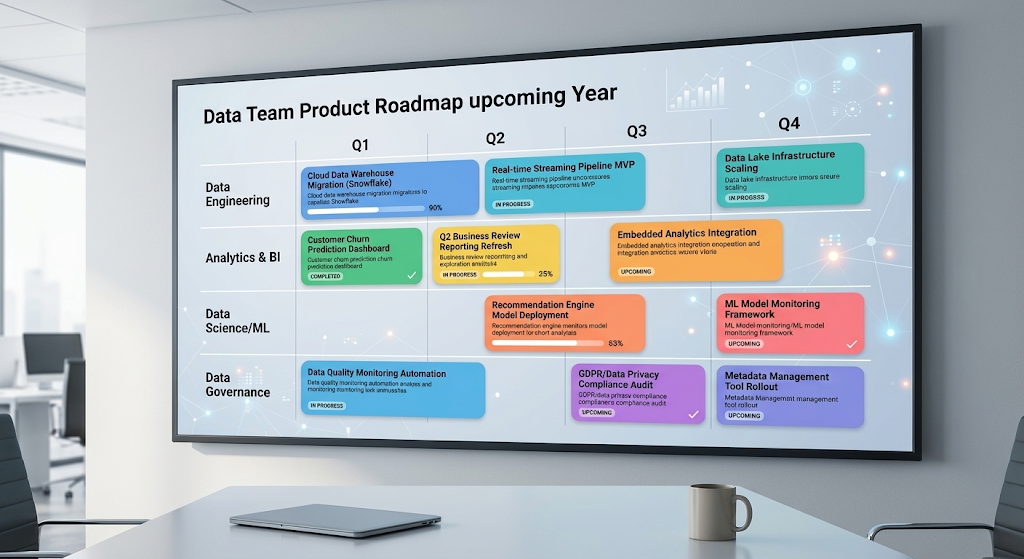
Having feedback in an Sigma Input Table makes it straightforward to query, visualize, and analyze alongside your core product metrics inside Sigma.
Build an Internal Feedback Dashboard: Create a internal Sigma workbook built on top of Plug Electronics Feedback Submissions input table via either a Sigma Warehouse View or a new Sigma Tables and chart dashboard ratings over time, average account health scores, and stakeholder clarity distribution.
Categorize Quantitative & Qualitative Themes: Use Sigma formulas (or AI/LLM functions if enabled) to auto-tag free-text responses like Missing Metrics or General Feedback into categorical themes (e.g., Performance, Missing Metric, UI/UX, Data Accuracy).
Prioritize by Customer Tier: Join the feedback submissions table back to your customer account dimension table using the Submitter Email or Tenant ID. This lets you cross-reference feedback with ARR, contract tier, or usage volume to make data-driven roadmap prioritization decisions.
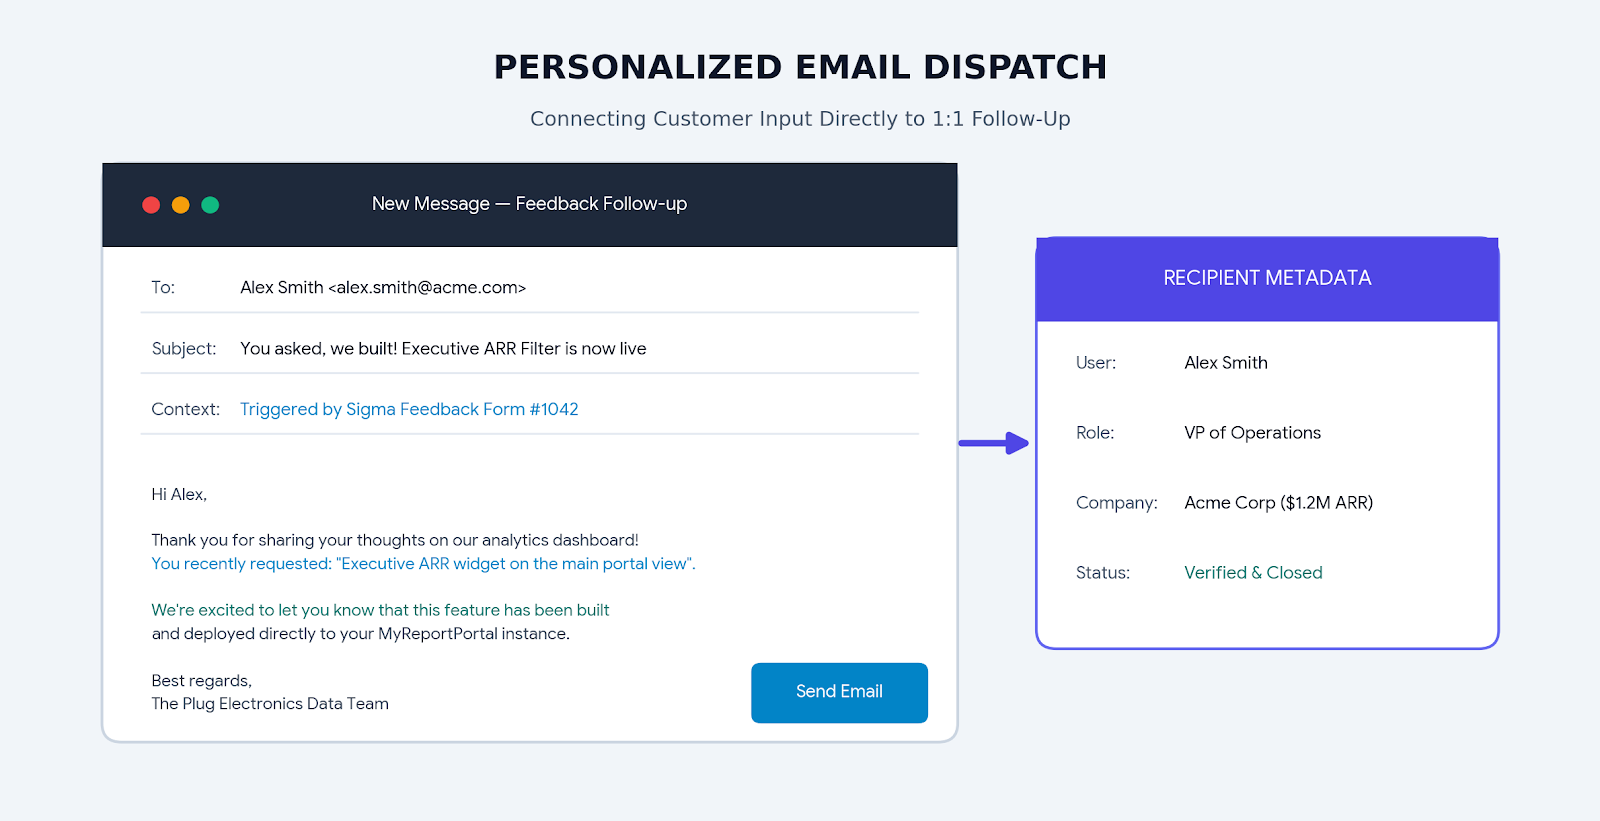
The single most critical step in maintaining customer engagement is acknowledging every piece of feedback. When users see that their input leads to real action, participation rates skyrocket.
Set a 100% Response SLA: Establish an internal commitment to respond to every submitter within 48 to 72 hours.
Acknowledge Non-Actionable Input: Even if a requested feature isn't on the short-term roadmap, reach out to thank the user and explain why. Customers appreciate transparency far more than silence.
Ship & Share "You Asked, We Built" Updates: When a missing metric or requested dashboard update goes live in MyReportPortal, query your feedback table for everyone who requested that feature. Send personalized follow-up emails letting them know their feedback directly shaped the latest release.
Embed Sigma dashboards behind your domain and your branding, with no engineering project.
Start free trial